Want to add a touch of enigma and elegance to your knitting projects? Choose cable stitch patterns. Timeless and romantic, from fishermen's sweaters to heirloom blankets, cozy cowls to warm socks, it makes its way into every project. Come the whispers of the colder season and you’ll find them back in trend, featuring in fall and winter projects. Many knitters prefer cables in all their projects for warmth and structure. The twists, ropes, braids, knots and mystical symbols make any project timeless. For beginners, the stitch pattern may seem terrifying, but with the right tricks they are no more difficult than knit and purl stitches. To make it all the more easier, we’ve got five practical tips to help you knit cables with confidence. Get ready to add rich textures to your fall and winter projects with KnitPro knitting needles and accessories.
Don’t get overwhelmed with the intricate twists and braids; there’s a simple math and pattern to it. You just have to knit a few stitches out of turn and have this textured beauty in hand. A good starting point is our guide on how to knit cable stitch patterns.
Tip 1: Choose the Right Yarn
Knitting stitch patterns thrive on yarn. In fact, the ultimate combination of knitting needle material and yarn is what makes the cables pop. Clarity is everything in cable knitting patterns. The right yarn can be decided as you tick off: the fiber, color and even weight. Merino wool or merino-silk is a good choice. Avoid textured, fuzzy yarns such as mohair or cashmere or even a polyamide yarn, though a merino-polyamide blend could work. Light solid colors or subtle variegated shades work best though stay clear of too dark shades or neons. The yarn weight plays a role too; don’t go with fingering or lace, a medium DK or worsted weight is best.
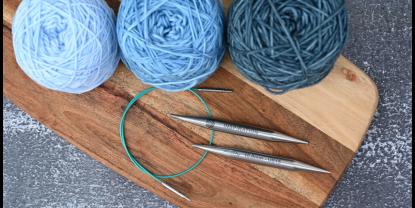
A quick test gauge swatch is the best option. If the needle and yarn pairing seems uncomfortable, substitute with a needle size smaller or bigger, or try another knitting needle material altogether. If you are struggling with wood or bamboo, work with stainless steel, aluminum, or carbon fiber for a smooth surface and pointy tips. If you are struggling with metals, choose wood or bamboo to balance yarn tension.
Tip 2: Tight Gauge and Even Tension Before Adding Twists
What makes the cables pop? A neat background. If yarn tension varies, cables get distorted and can appear loose on one side and tight on the other. A handy trick is to tighten the stitches before and after the cables. Practice or work on a stockinette pattern with your chosen yarn and knitting needles, so that you can work on both knit and purl stitches. Many knitters find the gauge and tension faltering in case of purl stitches; therefore, keep an eye and tighten the stitch a fraction.
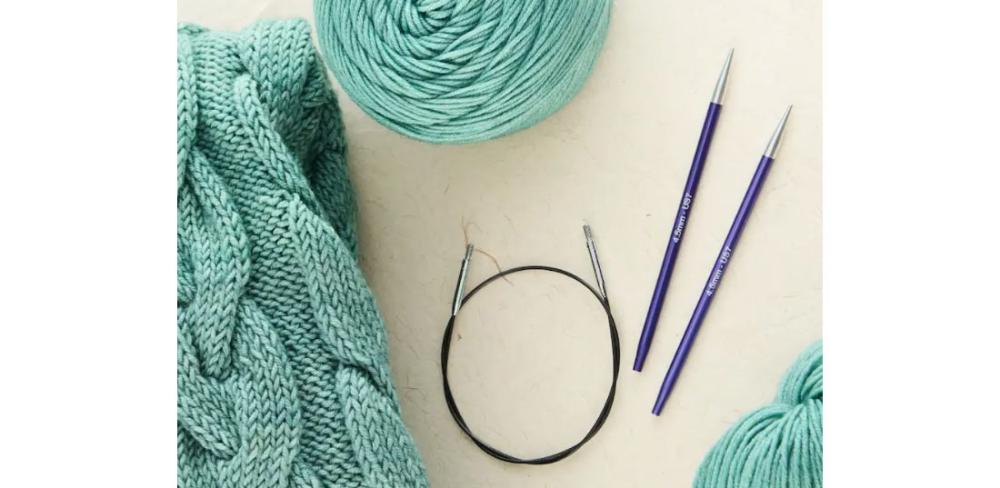
Tip 3: Use Cable Needles
The trick is simple and effective: choose a cable needle. It’s a small yet mighty tool, used to hold stitches to the front or back of the work while other stitches are knit. For beginners, it provides security, ensuring stitches do not slip. Start with a cable needle that matches your main needle size. Choose aluminum cable needles with bent center spaces to hold the stitches, while the wooden cable needles have grooves and tapered tips. Slide the stitches off, rearrange them carefully with your working needle, and knit them back. You can find knitters substituting with a double pointed needle, stitch holder or yarn; however, cable needles are the best option.
Tip 4: Read Charts and Written Instructions with Care
Knitting patterns are written in their own language of symbols. Cable patterns are usually written in two formats: line-by-line instructions or charts. Learning to read both is useful. Written instructions tell you each step, while charts show the visual direction of the twist. Symbols usually indicate whether stitches cross to the left or right. Read carefully, and remember that practice is part of the process. The more you knit from charts, the easier it becomes to see the pattern emerging in your fabric and to work the next cable cross intuitively. Start with our guide on how to read knitting charts for beginners.
Tip 5: Block for a Professional Finish
Blocking is the final stage that transforms cables from slightly rumpled twists into smooth, sculpted ropes. Refer to our guide on how to block your knitted projects. Go through the yarn label for care instructions. Whether you wash, spray wet, or steam the project, do not stretch cables too much, as this can flatten them. Allow the piece to dry fully. It’s rightly said that blocking pampers the yarn and works on the fit and drape. Cables will look neat and defined. For projects such as scarves, sweaters, and blankets, where the finished look matters, blocking is essential. Another factor is the fit, for sweaters, mittens and cowls.
With these 5 handy practical tips, you’ll find cable knitting easier and smoother. Whether you are casting on a dishcloth or a full-sized sweater, make the cables pop and enjoy the spotlight. This fall and winter, choose KnitPro knitting needles as your crafting companions. Choose from warm wood from Ginger, Dreamz and Symfonie, the smooth stainless steel tips from Mindful Collection, or the aluminum Zing, or go a step further with premium carbon fiber needles from Karbonz.


