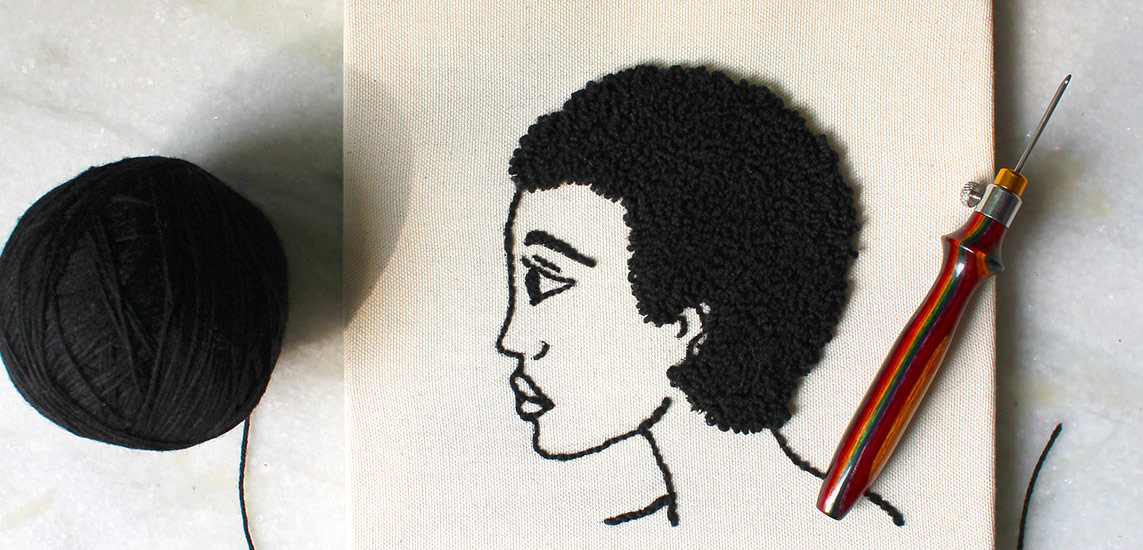
Punch needle art is fun and beautiful. With lots of measured punches and stabs to a foundation fabric with colorful yarn, you create beautiful textures. It’s easy to learn and works on the basic principle of going through the fabric repeatedly with a punch needle tool. However, there are a few hurdles, basic mistakes that most beginner or even seasoned makers commit. Mistakes are a part of learning; they are simple lessons to improve craft. Some common frustrating issues in Punch Needle Art include loops falling out, uneven loops, or fabric that won’t hold your stitches. Don’t worry! These are common punch needle mistakes and they’re completely fixable with a few simple tips.
1. Using the Wrong Fabric AKA Not Monk’s Cloth
One of the most common punch needle mistakes is using unsuitable foundation fabric. The fabric needs to be suited to take the continuous punches and stabs of the punch needle. You need to get the right weave to grip the loops and hold your stitches in place.
The Fix: Always choose the best fabric for punch needle. Monk’s cloth is the gold standard, especially for larger punch needles used with yarn. Look for monk’s cloth 100% cotton, specially woven with a double strand of cotton featuring 12 to 14 holes per inch, paired with 3mm & 4mm needle diameter for best results. Monk’s Cloth, woven with a white line every five centimetres, helps you position your pattern. For intricate and detailed punch needle patterns, duck fabric is a popular choice. 100% cotton tight weave fabric in a neutral color, which has a slight fleck to it, like small seeds and is ideal for a 2mm needle diameter.
Make sure the fabric is stretched tightly in your hoop or frame. Choose pre-stretched square or rectangular frames. A tightly stretched fabric is essential for a smooth and precise punching experience.
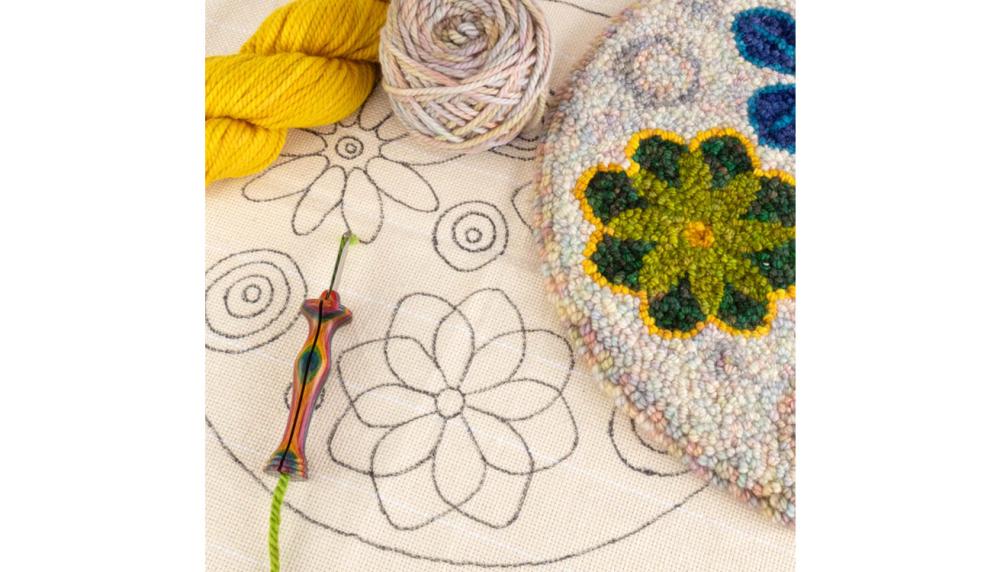
2. Improper Needle Threading
Many times, in the excitement of punching and tempted by the beauty of punch needle art you commit the mistake of not threading your punch needle properly. If the punch needle isn’t threaded correctly, your yarn won’t flow smoothly and loops may not form properly or may come out.
The Fix: Always make sure to thread the punch needle properly. Follow the instructions and refer to our guide on how to thread a punch needle. Use the threader that comes with the punch needle kit. Insert the threader from the needle tip to the handle, pull your yarn through, then thread through the eye near the tip. Make sure the yarn feeds freely and is not pulled too tightly.
3. Pulling the Needle Too Far or Too Little
One of the top questions beginners ask is: Why does my punch needle yarn come out? Then the most common mistake is that the loops are not consistent. To get consistency, always punch the needle the same way. Punching too deep or not deep enough can cause uneven results or loops that don’t stay in. Also, if the loop comes out again and again chances are you’re lifting the needle too far off the fabric as you punch, or the fabric isn’t tight enough.
The Fix: Gently glide the needle across the surface of the foundation fabric as you move to the next stitch. Do not lift it completely. Insert the punch needle tip all the way down until the handle touches the fabric.
With practice and after a few projects, muscle memory will help you maintain even pressure and loop height. Refer to our guide on how to do punch needle embroidery.
4. Using the Wrong Yarn Size or Type
The love for yarn blinds the fiber artists; however, it is a mistake in punch needle art. Choosing the wrong yarn results in uneven loops and frequent unraveling. The right yarn weight, matching the punch needle size, is essential. The yarn fiber is also a deciding factor. 100% wool yarn is the best choice.
The Fix: Match your yarn weight to the punch needle tool you’re using. Punch needles generally specify the yarn weight range. However, if you’re unsure, test on a small swatch before working on the project. Also, make sure to prepare the yarn by winding and rewinding it for a smooth flow of yarn for projects.
5. Forgetting to Secure the Loops
The textured loops are the beauty of punch needle art. There’s no requirement for knotting or stitching in punch needle projects, which takes us to the basic mistake of not securing the loops.
The Fix: Firstly, avoid loops that make come out by always choosing the right fabric and yarn combo. Apply a backing or adhesive to secure the loops from behind. Use a cloth fabric or apply craft glue.
Punch needle is a forgiving craft once you get the hang of it. And remember: something wrong often signals you're about to learn something new!
To get started with punch needle art, explore punch needle kits and pre-stretched frames. Whether you're a curious beginner or an experienced fiber artist, bring your punch needle projects to life. Step into the fun craft with inspiring punch needle projects for beginners.


