
The Broken Rib Stitch is one of those classic knitting patterns that looks beautifully textured but is surprisingly simple to knit. Whether you’re a beginner wanting to explore new stitch patterns or an experienced knitter craving a meditative project, this stitch offers the perfect balance of ease and visual interest. With just knits and purls, the Broken Rib pattern creates a subtle, linear texture that works well in scarves, hats, sweaters, and cozy home décor. All you need is a pair of knitting needles and an understanding of knit and purl stitches.
In this guide, we’ll explore what makes the Broken Rib Stitch special, how it’s made, when to use it, and how it compares to the popular 1×1 Rib.
What Is the Broken Rib Stitch?
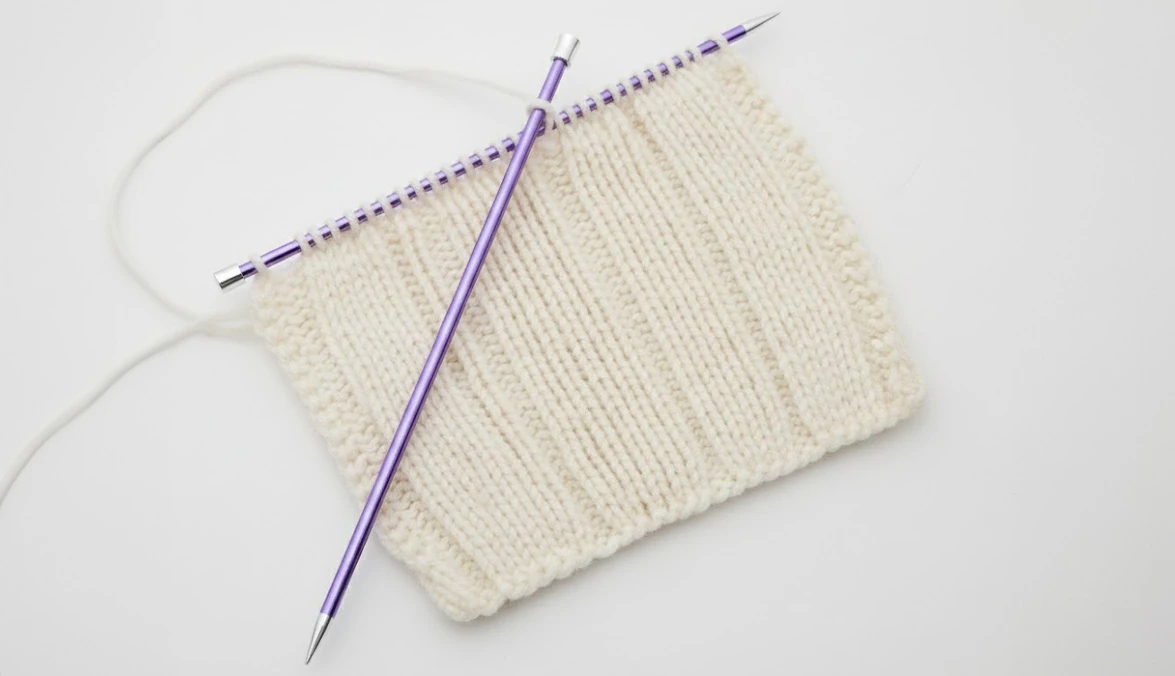
The Broken Rib Stitch is a textured pattern created by alternating a row of ribbing (knit and purl stitches) with a row of plain knitting. A beginner-friendly texture with endless possibilities.
Unlike traditional ribbing, which is deep, stretchy, and very elastic, the Broken Rib has a more subtle texture. It lies flatter, holds its shape better, and creates a modern, structured look suitable for both garments and accessories.
Skill Level
Ideal for beginner and adventurous beginner knitters. If you know how to knit (K) and purl (P), you can create this stitch easily. No special techniques or counting beyond the basic repetition are needed, making it an excellent next step after mastering garter and stockinette stitch.
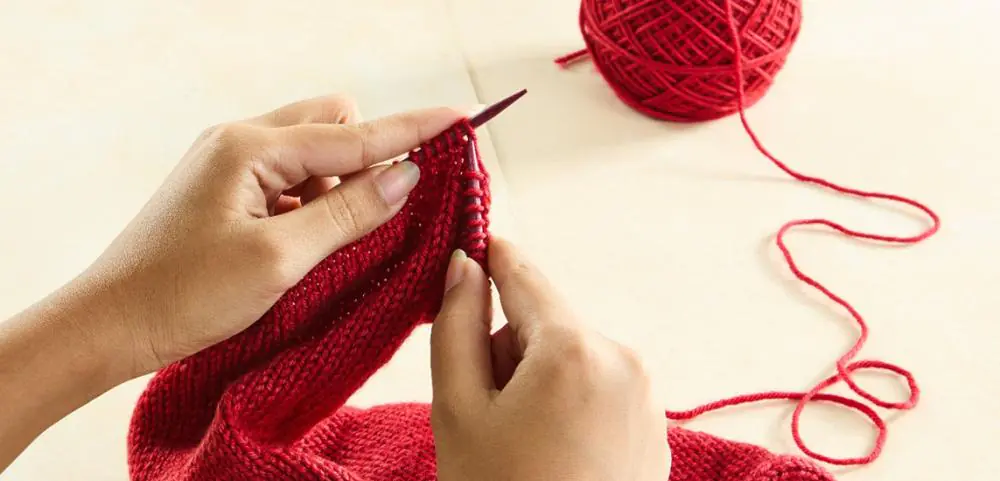
Step-by-Step Guide: How to Knit the Broken Rib Stitch
Here’s a simple and beginner-friendly pattern to get you started.
- Cast on an even number of stitches.
Row 1: K1, P1 Repeat
- Knit 1 stitch
- Purl 1 stitch
- Repeat K1, P1 across the row
This creates the first row of ribbing.
Row 2: Knit All Stitches
- Knit every stitch across
This flattens the rib and forms the “broken” effect. This combination disrupts the continuity of the rib and creates its distinctive texture.
Repeat Rows 1–2 for the full length of your project.
That’s it!
With just two simple rows, you're creating a structured, elegant texture that feels effortless to knit.
There are also variations (such as K2, P2 rib combined with a knit row), but the structure remains the same: ribbing + a plain knit row = Broken Rib.
Also Read: How to Knit Neater Rib Stitches
Best Uses for the Broken Rib Stitch
Because Broken Rib lies flatter and has less stretch than standard 1×1 rib, it works beautifully for projects that benefit from subtle texture without too much elasticity.
1. Scarves and Cowls
The stitch looks great on both sides and produces a sturdy yet soft fabric. Ideal for beginners making their first wearable piece. With cowls, the stitch has a smoother elasticity without doing much.
2. Hats
Although not as stretchy as ribbing, Broken Rib provides enough give to work well in hat brims or as an all-over texture. In fact, you can transition from a ribbed brim to a broken rib stitch fabric very easily. A ribbed to stockinette switch is abrupt; many new knitters struggle with the tension, while this is gentler.
3. Sweaters and Cardigans
It adds structure and interest to panels, borders, and sleeves. Designers often use this stitch to break up stockinette or add a minimalistic texture. The broken rib stitch serves beautifully before the sleeve edges and seam of the body.
4. Dishcloths and Home Décor
Its firm texture makes it perfect for washcloths, table runners, placemats, and cushion covers. This makes it perfectly usable without being too dense.
5. Baby Blankets
The stitch creates a lightly textured, warm fabric without holes and not too dense as a ribbed fabric, great for baby knits and gifting.
Also Read: How to Knit a Blanket on Circular Needles
Broken Rib Stitch vs. 1×1 Rib Stitch
Both stitches use knit and purl combinations, but the results are quite different. Here's how they compare:
| Characteristics |
1×1 Rib |
Broken Rib Stitch |
|
Texture |
Deep, stretchy vertical columns |
Flatter, interrupted texture with gentle ridges. |
|
Elasticity |
Very stretchy — ideal for cuffs, hems, and fitted edges. |
Minimal stretch that maintains shape and structure. |
|
|
Classic, pronounced ribbing effect. |
Modern, subtle and refined. |
|
Skill Level |
Beginner-friendly. |
Requires less precision and blocking. |
|
Knitting Speed |
A little time-taking as knit and purl. |
Faster, as the second row is only knit stitches. |
When to Use 1×1 Rib vs. Broken Rib
Choosing the right stitch depends on the project:
Choose 1×1 Rib When:
- You need elasticity (sock cuffs, sweater hems, sleeve cuffs).
- You want a stretchy, snug fit.
- You want classic ribbed texture.
Choose Broken Rib When:
- You want structure rather than stretch.
- You’re knitting scarves or blankets that should lie flat.
- You prefer modern, subtle texture.
- You want a relaxing, easy-to-memorize stitch.
The Fishermen’s Rib stitch pattern is another pattern that works beautifully with knit and purl
The Broken Rib Stitch is proof that simple techniques can produce stunning textures. With just knits and purls, you can create a beautifully structured fabric perfect for everything from cozy scarves to modern sweaters. Whether you're exploring new stitches or designing your next handmade piece, Broken Rib offers versatility, ease, and a clean, timeless look.
The key to neat knitting is practice and comfort. High-quality knitting needles enhance the performance. Explore the wide variety at KnitPro; from smooth wood, to warm bamboo, sleek stainless steel, to the glide of aluminum, high-tech material carbon fiber, to acrylic knitting needles and sets with standard types and sizes.


