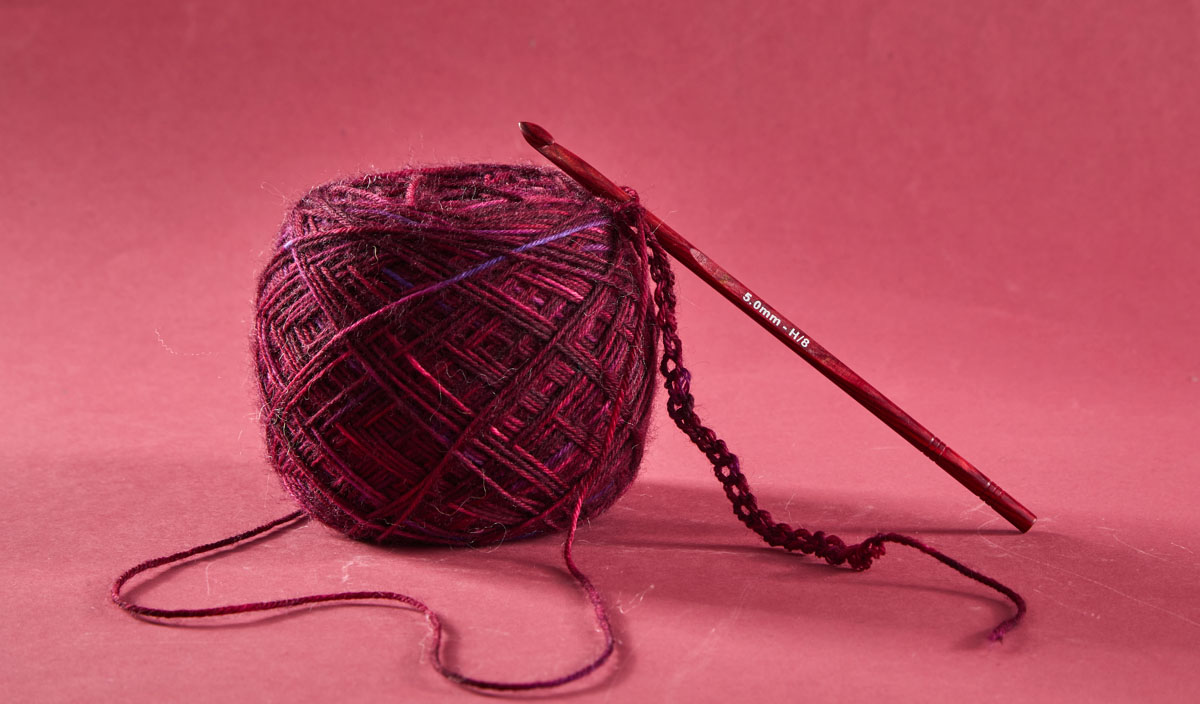
In crochet projects, joining techniques are essential skills. In some cases, you can work with the same crochet hooks used in the project, while in others, you’ll need the handiness of wool needles. For projects such as one made with granny squares, a blanket, a top, or a dress, you’ll need a neat joining technique. Similarly, for an Amigurumi toy, an invisible joining technique will work best. For assembling a sweater or garment made in pieces, a join that works seamlessly is the best bet. In this blog, we’ll walk you through three of the most popular joining methods—Slip Stitch, Whip Stitch, and Invisible Join, explore the pros, cons and best uses to help you choose the best one for your project.
Why Crochet Joining Matters
Joining techniques in crochet are as easy as crocheting. Once you learn how to crochet, you can easily learn these methods. The way you join your crochet pieces impacts the overall look, feel, stretch, and even durability of your finished project. Whether you want a seamless look, a decorative ridge, or a fast, functional join, the method you pick matters. You can choose the mattress stitch, which works in knitting and embroidery. In fact, the joining methods are also crochet techniques handy for knitters. Let’s take a look at them.
1. Slip Stitch Join
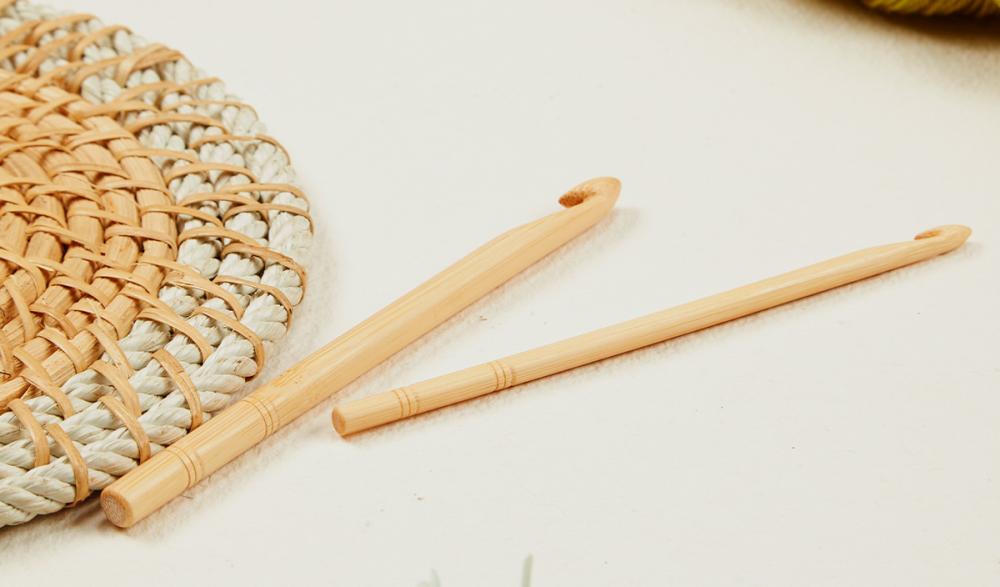
The Slip Stitch Join is a crochet technique used to connect two pieces with a crochet hook. You can choose the single-ended crochet hook in the size you’ve used for the project or a Tunisian crochet hook. It’s clean, structured, and adds stability. It’s one of the basic crochet stitches that every beginner learns.
How to Do It:
- Hold the two pieces with right sides together or side by side.
- Insert your hook through both pieces.
- Yarn over and pull through both layers and the loop on the hook.
Pros:
- Easy to learn and quick to execute.
- Adds structure to edges.
- Great for borders or projects that need durability.
Cons:
- Creates a visible ridge.
- Less stretch compared to sewn joins.
Best For: Blankets, bags, and outer garments where visible seams work.
2. Whip Stitch Join
The Whip Stitch is a simple sewing method used with a wool needle. It creates a flexible and tidy seam that lies flat. For more details, you can refer to our blog on how to work the whip stitch in your knitting projects.
How to Do It:
- Thread a yarn needle with the same or contrasting yarn.
- Align the edges (usually right sides together).
- Pass the needle under both loops of each stitch, whipping around the edge.
Pros:
- Flat and tidy finish.
- Stretchier than slip stitch join.
- Easy to control tension.
Cons:
- Can loosen over time if not done tightly.
- Takes slightly longer than crocheted joins.
Best For: Garments, blankets, and projects where you want a seam that does not stand out. For classic granny squares, tops or dresses.
3. Invisible Join
The Invisible Join, also called a seamless join) creates a smooth finish that’s ideal for round projects or joining motifs invisibly.
How to Do It:
- After your last stitch, cut the yarn and pull it through.
- Using a wool needle, weave the yarn tail through the first stitch (under both loops) and back into the last stitch to mimic a real stitch.
Pros:
- Truly seamless finish.
- Great for circular or motif work.
- Very professional-looking.
Cons:
- Not as secure as other joins for high-stress seams.
- Slightly more time-consuming.
Best For: Amigurumi projects, Granny squares, decorative motifs, hats, and necklines.
Comparison Table: Slip Stitch vs. Whip Stitch vs. Invisible Join
| Technique |
Tools Needed |
Appearance |
Stretch |
Best For |
Skill Level |
|
Slip Stitch |
Crochet hook |
Visible ridge |
Low |
Structured projects, visible seams |
Beginner |
|
Whip Stitch |
Yarn needle |
Flat, subtle seam |
Medium |
Garments, blankets, soft seams |
Beginner |
|
Invisible Join |
Yarn needle |
Seamless, invisible |
Medium |
Motifs, round joins, hats |
Intermediate |
Tips for Better Joins
- Whether stitching or crocheting, keep the tension even to avoid puckering or gaping.
- Use matching yarn for invisible or subtle joins, or contrast yarn for decorative ones.
- Block your pieces before joining for cleaner alignment and a smoother finish.
- Secure yarn ends by weaving them to prevent unraveling.
Which Join is Right for Your Project?
Need strength and structure? Go for Slip Stitch.
Want a flat, stretchable seam? Choose the Whip Stitch.
Desire a flawless, invisible finish? Try the Invisible Join.
The choice of the joining technique depends on the project. Sometimes, combining two techniques in one project can offer the best results, for example, invisible join for motifs and whip stitch for assembling panels.


