
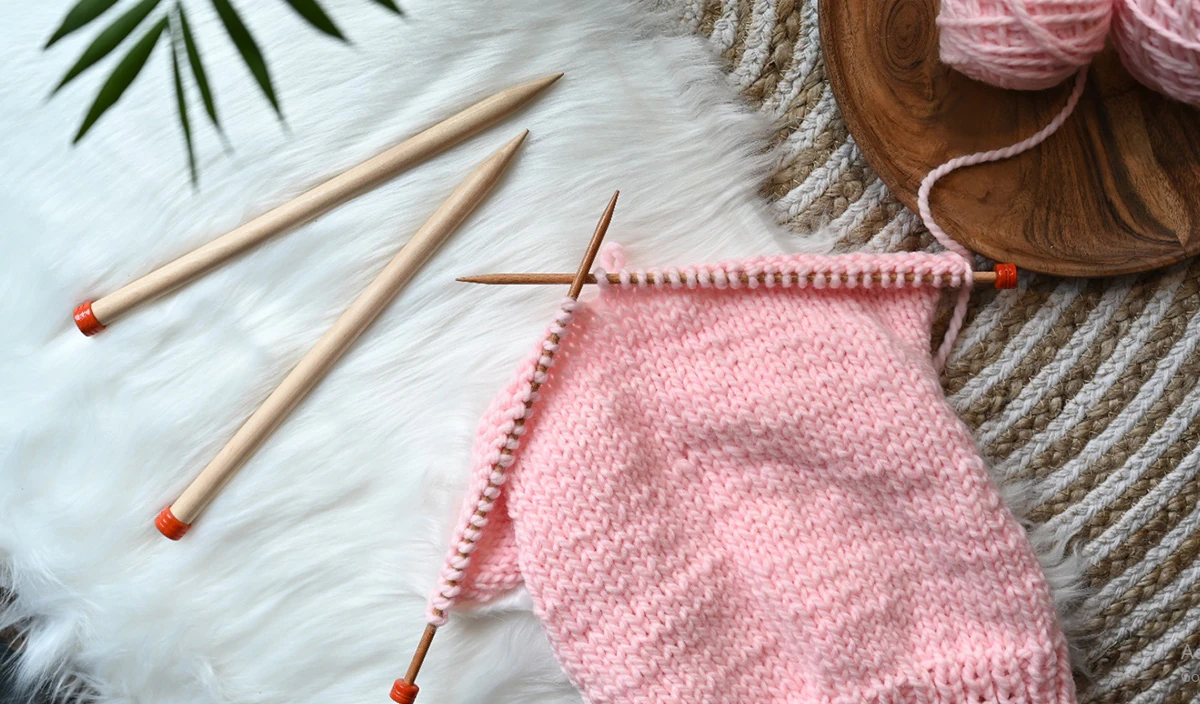
Knitting sweaters, or for that matter, any garment, is a test of skills for a knitter. However, you can begin any time with your trusted pair of single-pointed knitting needles. Also known as straight knitting needles, they are easily available in most knitting toolkits. Well, there’s some seaming and a few extra steps, but it’s a beautiful way to construct garments. In fact, you learn so much more about shaping and finishing techniques. If you’re new to knitting or do not have the right size or length of circular knitting needles, or just prefer the comfort of straight needles, this blog is for you. We’ll walk you through the steps and tips. You simply need to trust this knitting, as many knitters have done for centuries.
The Timeless Appeal of Flat Construction
Before diving into our step-by-step guide on how to knit sweaters with straight needles. Firstly, this technique is helpful for beginners who’ve not yet learned about knitting in the round with double-pointed needles or circular knitting needles. Secondly, the flat construction allows you to see your work clearly as it develops, making it easier to spot and correct any mistakes before they become major issues. This visibility is especially valuable when working with intricate stitch patterns or colorwork designs. This brings us to the third point of flexibility in sizing and fit adjustments. Refer to our previous blog on flat vs circular knitting - the pros and cons.
All you need is to choose a knitting pattern to guide you through the process.
Step-by-Step Guide for Knitting a Garment with Straight Needles
Knitting is a process and all you have to do is go stitch by stitch. Choose a pattern and you will have instructions on the knitting needle sizes, yarn (fiber, weight and yardage), and the stitch count. Make sure you carry stitch markers, wool needle (size matching the knitting needle)
Step 1 - Knit a Gauge Swatch
A gauge swatch is crucial for knitting a sweater with straight needles and cannot be skipped. Use the exact yarn and knitting needles planned for your project. Knit a generous swatch of 10cm that mimics your actual knitting tension. Block this swatch and then measure carefully to ensure your gauge matches the pattern requirements. This step prevents the heartbreak of a completed sweater that doesn't fit properly. Refer to our blog on why knitting gauge is so important.
Step 2 - Constructing Your Foundation with Knitting the Back Panel
Begin your sweater knitting with the back panel. This piece establishes the size and proportions for the entire garment. The back is typically the most straightforward section to knit, allowing you to establish your rhythm and become comfortable with the stitch pattern before tackling more complex shaping.
Cast on your stitches using a method that provides good stretch, such as the long-tail cast-on. As you go row by row, pay attention to any waist shaping or length adjustments needed for your specific measurements. Keep detailed notes of your row counts at important milestones like armhole shaping and shoulder decreases, as this information will be invaluable when knitting the corresponding front pieces.
Step 3 - Shaping the Front: Precision and Attention to Detail
Front panels require more careful attention, especially if you're creating neckline shaping, factor bust sizes and shoulder sloping. Short rows in knitting come in handy. Refer to our blog on how to knit short rows. Take time to mark your increases and decreases clearly, ensuring that both fronts match exactly in their shaping. When working V-necks or other shaped necklines, count your stitches and maintain consistent decreases on both sides.
Step 4 - Sleeve Success: Creating Beautiful, Well-Fitted Arms
Sleeves knitted flat require systematic increases to create proper shaping from cuff to armpit. Begin with your cuff ribbing or edge treatment, then place increases evenly along the length of the sleeve to create smooth, gradual shaping. Mark the center point of your sleeve cap carefully, as this needs to align perfectly with the shoulder seam during assembly. To make this step easier, refer to our tips for knitting sleeves and avoiding gaps.
Step 5 - Seaming and Bringing It All Together
Excellent seaming transforms homemade sweaters into polished, professional-looking garments. The mattress stitch is your most valuable tool for creating nearly invisible seams that lay flat and comfortably against the skin. This technique works by picking up the horizontal bars between stitches on each piece, creating a ladder effect that pulls the pieces together seamlessly.
Before beginning any seaming, block all pieces to their final measurements according to your pattern specifications. Pin pieces together carefully, matching crucial points like armhole curves and neckline shaping. Use the same yarn used for knitting, or choose a slightly thinner yarn in the same color if your knitting yarn proves too bulky for neat seaming.
Take your time with seaming work. For shoulder seams, consider using the three-needle bind-off technique, which creates a strong, clean finish while eliminating the need for traditional seaming in this high-stress area.
Step 6 - Finishing Touches
Blocking is the key! Proper blocking brings everything together, evening out any tension irregularities and ensuring all measurements match your pattern specifications. Pay special attention to achieving smooth, professional edges and consistent stitch definition throughout your garment. Refer to our guide on how to block your knitting.


