
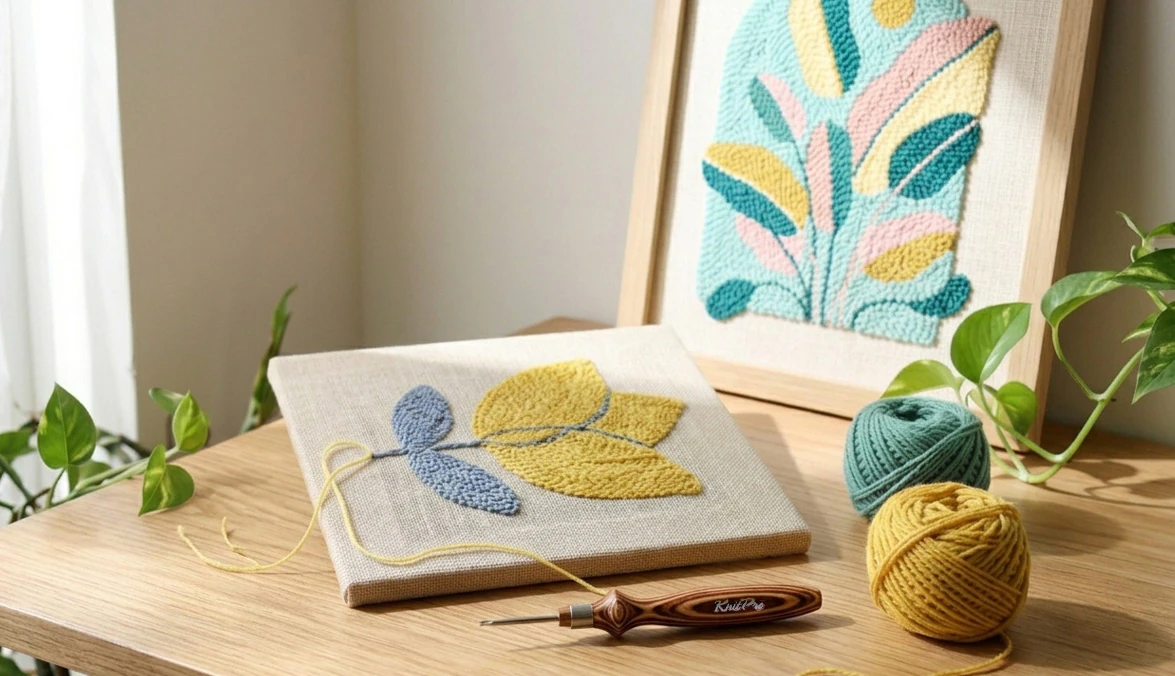
The best thing you can make with a punch needle is something people will actually touch, use and reach for every day. A floral cushion cover for spring is exactly that, and if you have never picked up a punch needle before, this is the perfect place to start.
This guide walks you through making a simple floral punch needle cushion cover for spring, from choosing your tools and fabric to punching your last loop. If you have never tried a punch needle before, this is a genuinely good place to start.
What You Will Need
Here is what you need for a standard cushion cover, roughly 40cm x 40cm finished.
Punch Needle Tool: The KnitPro Punch Needle Kits are one of the most beginner-friendly options available. The kit comes with an ergonomic interchangeable handle, multiple tip sizes, a threader, and clear instructions.
Fabric: Monk's cloth is the go-to for punch needle projects, including cushion covers. It has an open, even weave that lets the needle pass through smoothly and holds loops securely. You will need a piece roughly 55cm x 55cm, which gives you a 40cm x 40cm working area plus a few centimetres of border on each side to attach to your frame and finish the edges later. Weaver's cloth works as an alternative if monk's cloth is hard to source.
Also Read: Punch Needle Art: Which Fabric is the Best for your Project?
Yarn: Aran or chunky weight yarn gives you that satisfying raised texture that makes punch needle cushion covers look so good. For a spring floral design, choose bright shades according to the flowers, and a muted green for stems and leaves. If you have been a knitter or crocheter, search your stash for yarn for your project.
Also Read: Pastels for Spring & Summer
A Frame or Hoop: Your fabric needs to be drum-tight to punch into. The tighter the fabric, the more consistent your loops will be. There are also options of pre-stretched frames that you can customize for cushion covers.
Marker and Pattern: A water-soluble fabric marker or a light pencil lets you trace your floral design directly onto the monk's cloth before you start punching.
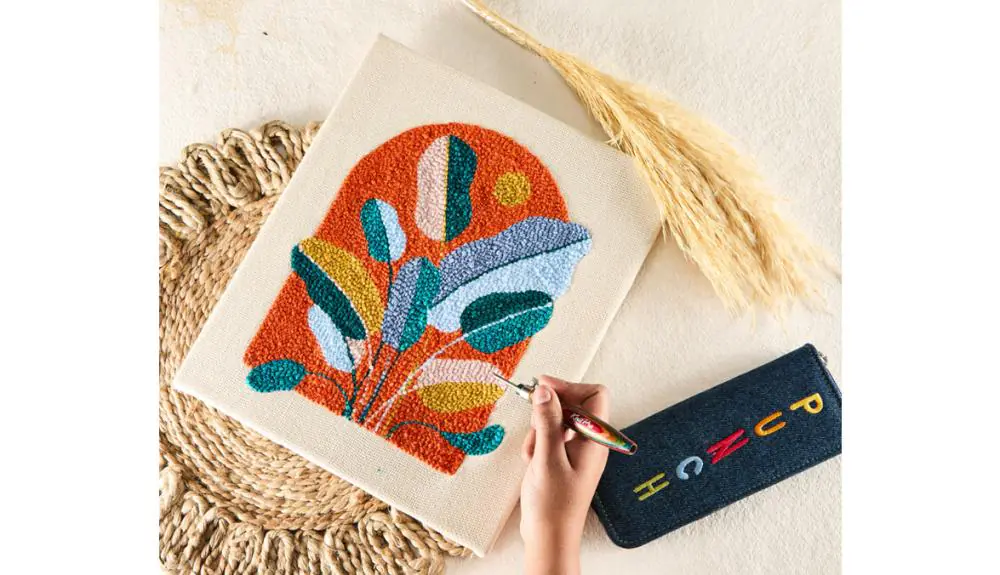
The Floral Design
For a beginner-friendly spring floral pattern, keep the shapes simple and generous. Small, intricate details are genuinely difficult to punch neatly at this stage, and you want a finished result you are happy with.
A good starting point is a central oversized flower, five to six rounded petals around a circular centre, surrounded by two or three smaller flowers and a scattering of simple leaf shapes. Draw this freehand or print and trace a simple reference image. The design does not need to be perfect. Organic, slightly uneven shapes look intentional in punch needles and are part of what makes handmade pieces feel unique.
Centre your design on the fabric and leave a clear border of at least 8cm on each side. That border is what you will fold and stitch when assembling the cushion cover, so you need it.
How to Punch
Thread your KnitPro punch needle according to the kit instructions, making sure the yarn feeds smoothly through the hollow needle shaft. The open slot on the needle should always face the direction you are punching toward.
Push the needle down through the fabric until the handle rests against the surface, then pull it back up just to the surface level without lifting it away from the fabric. Slide it along the fabric and punch again. That is the whole motion. The loops form on the underside automatically.
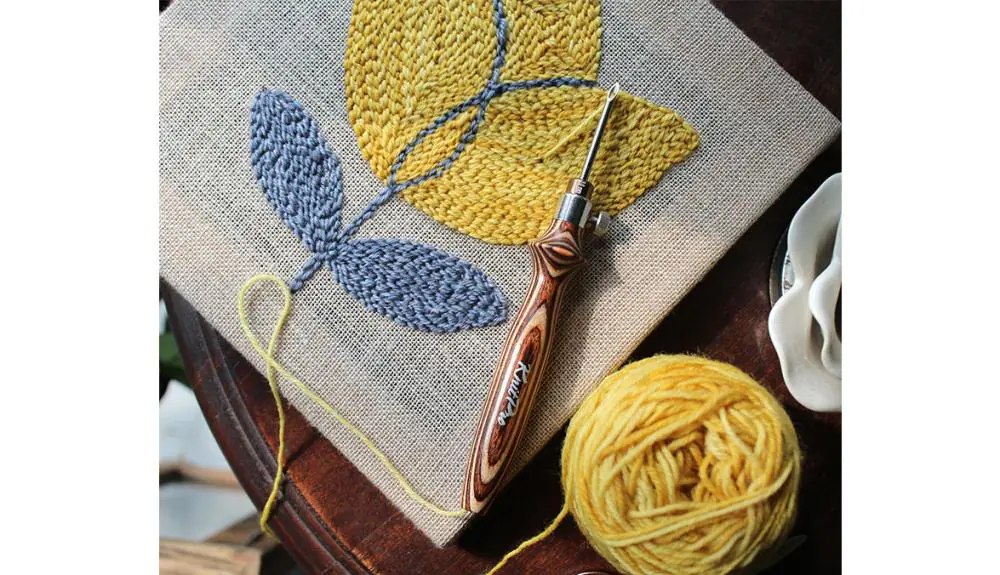
Work your design from the outlines inward. Punch the petal outlines first, then fill them in with rows of loops following the curve of the petal. This gives you a neater finished look than filling randomly. Move to the smaller flowers, then the leaves, and fill in the background color last.
Keep your loops at a consistent height by maintaining even pressure. The KnitPro needle tip sizes are calibrated to produce a specific loop height, which takes one variable out of the equation for beginners. If a loop pulls out when you lift the needle, you are lifting too far from the fabric surface.
Finishing Your Cushion Cover
Once all the punching is done, take the piece off the frame and lay it flat:
- Apply a thin, even layer of rug backing glue or fabric glue to the back of the punched area. This locks the loops in place and prevents them from pulling out during regular use. You can also use a fabric lining.
- Let it dry completely before the next step, usually a few hours.
- Now, you can display the textures or the smooth surface depending on your taste. But, before that, our guide explains which side of the foundation fabric to punch.
- Trim the fabric border to about 2cm on each side, fold it to the back, and stitch it down neatly.
- Turn it right side out, insert your cushion pad, and slip stitch the final side closed.
The KnitPro Punch Needle Kit gives you everything you need to get started. For a beginner making their first proper project, that matters.


