
Gauge is one of the most important and most ignored steps in crochet. Whether you're making a fitted sweater, a pair of slippers, or a granny square blanket, understanding and checking your gauge is the difference between a project that fits and one that doesn't. A lot of crocheters skip right past this. Of course, it’s easy to forget to start with a gauge swatch, as you are tempted and eager to get your hands on a pattern and pick up a crochet hook and yarn.
Here's everything you need to know about crochet gauge.
What Is Crochet Gauge?
Gauge (also called tension) is a measurement of how many stitches and rows fit into a specific area, usually a 4-inch (10 cm) square. It's determined by three things working together: your crochet hook size, the yarn weight, and your individual tension as a crocheter.
Every person crochets differently. Some people work loosely, some work tightly, and most of us land somewhere in between. The pattern designer worked at a specific tension to get specific dimensions, and the gauge tells you whether your tension matches theirs. If it doesn't match, your finished project will come out a different size than intended.
Why Gauge Matters More Than You Think
For home décor or decorative projects, a wall hanging, a dishcloth, a market bag, gauge is fairly forgiving. A couple of stitches off won't ruin anything. But for wearables, gauge is non-negotiable. A sweater with 10% fewer stitches per inch than specified can end up two full sizes larger than the pattern intends. Slippers that measure off by half an inch per row won't fit. A hat that's slightly too loose won't stay on a baby's head.
Gauge also matters for yarn quantity. If your stitches are larger than specified, you'll use more yarn and may run out before the project is finished. If they're smaller, you'll have leftovers and potentially a fabric that's stiffer and denser than intended.
Taking twenty minutes to check the gauge before you start saves hours of frogging and remaking later.
Step-by-Step: How to Make and Measure a Gauge Swatch
Step 1: Read the Pattern Gauge Carefully
The gauge might read: 16 dc x 8 rows = 4 inches with a 5mm crochet hook in double crochet (DC) stitches.
Note the stitch type specified (single crochet, double crochet, a specific stitch pattern), the hook size, and the yarn weight. Here, the thing to keep in mind is that UK and US terminology are very different; one stitch name can mean a different stitch in the other, so be sure to double-check.
Also Read: UK vs US crochet terminology
Step 2: Use the Recommended Crochet Hook and Yarn
Start with exactly what the pattern specifies. You'll adjust from here if needed, but always begin with the recommended materials.
Also Read: What Crochet Hook to use with what Yarn?
Step 3: Crochet a Swatch Larger Than 4 Inches
This is the step most people get wrong. Make your swatch at least 6 inches square, not exactly 4. Stitches at the very edge of a swatch behave differently, they pull and distort. Measuring from the center gives you a more accurate reading.
Work in the stitch pattern specified in the gauge note. If the pattern says "in double crochet," your swatch should be worked in double crochet throughout.
Step 4: Block Your Swatch (If the Final Project Will Be Blocked)
If you plan to wet block or steam block the finished item, do the same to your swatch first. Follow the yarn label for. Measuring before blocking and then blocking the final project means your gauge measurement is no longer accurate.
Step 5: Lay the Swatch Flat and Measure
Place your swatch on a flat surface without stretching it. Use a ruler or tape measure — not a fabric tape measure held loosely. Place a pin or marker at the start point, measure exactly 4 inches horizontally, and count every stitch (including partial stitches) within that span. Then do the same vertically for row count.
Write both numbers down.
Step 6: Compare to the Pattern Gauge
- Your stitch count matches the pattern? You're good to go.
- Too many stitches in 4 inches? Your tension is tighter than the designer's. Try going up one hook size.
- Too few stitches in 4 inches? Your tension is loose, so try going down one hook size.
Re-swatch after every hook change until your gauge matches.
A Note on Adjusting Hook Size
Going up or down in hook size to match gauge is completely normal; it doesn't mean you're doing anything wrong. Crochet hook sizes are a starting point, not a rule. If a pattern calls for a 5mm hook but you match gauge on a 5.5mm, use the 5.5mm. The goal is the correct fabric, not the correct hook number.
Also Read: Everything you need to know about Crochet Hook Sizes
When Can You Skip the Gauge Swatch?
Honestly? Rarely. But if you're making something with no size requirements, a decorative wall piece, a coaster, or Amigurumi, you can skip it without consequence. For anything that needs to fit a body, a foot, a head, or a specific dimension, swatch first. Always.
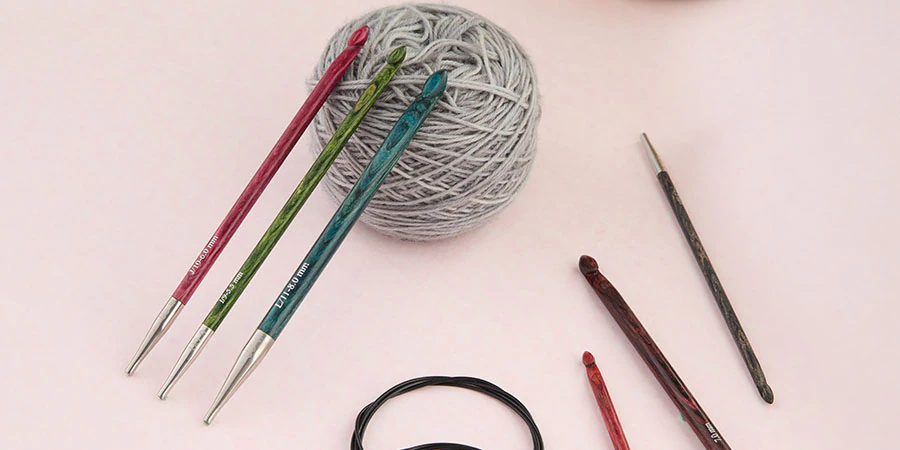
With KnitPro crochet hooks, explore a wide range of materials, sizes and finishes that make crocheting an enjoyable experience. Enjoy the feel of Zing, Waves 2.0 or Oasis for aluminium hooks. Zing offers a comfortable thumb grip; Waves has a soft ergonomic handle in vibrant shades and Oasis offers an interchangeable ergonomic handle. For wood and bamboo, explore Dreamz, Symfonie, or handy Japanese bamboo.


