

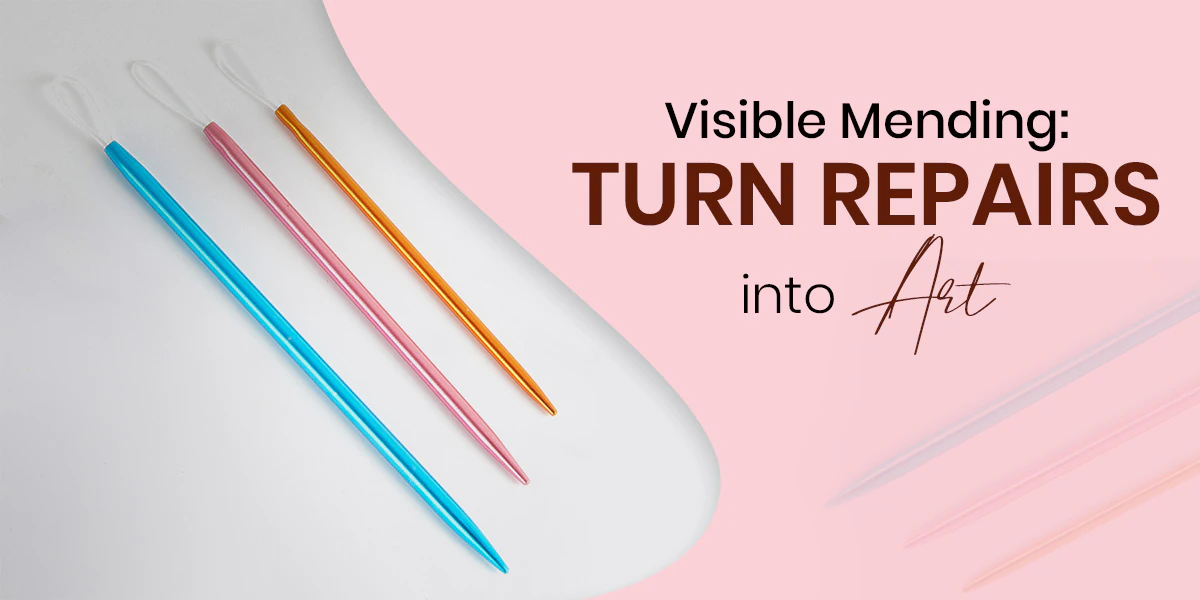
Visible mending is the savior of handmade fashion! A hole in your favourite knitted sweater or a worn-out heel on your lucky socks does not have to mean the end of the handmade project. What if the repair could become the most interesting part? That is the idea behind visible mending, a creative repair technique that deliberately highlights rather than hides damage. Think contrasting stitches on a sweater elbow, colourful darning on a sock, or a crochet motif covering a worn patch. With knitting needles, crochet hooks, darning needles, and yarn, a flaw can become a design feature.
More importantly, visible mending is changing the way people think about clothing. Instead of replacing a beloved handmade piece, makers are choosing to repair, reuse and personalise it. The result is fashion that tells a story, one stitch at a time.
What Is Visible Mending?
Visible mending is a repair technique where the repair is intentionally made visible. Rather than matching the original colour and attempting to make damage disappear, contrasting yarn, thread, stitches, patches, or decorative motifs are used to highlight the repair.
For knitters and crocheters, this means using:
- Darning needles and wool needles
- Patches made with Contrasting or leftover yarn
- Classic Granny Squares and their various combinations
- Embroidery thread
- Duplicate stitches
- Crochet slip stitch designs, patches and motifs
- Punch needle embroidery, where you revive your project with a textured patch
Visible mending works particularly well for handmade projects because the repair can become part of the original design.
Also Read: Visible Mending Your Knitting Projects
With this guide to visible mending explore duplicate stitch or Swiss darning as one way to strengthen worn knitted and crocheted fabric while adding decorative detail.
Why Is Visible Mending Becoming Popular?
Visible mending fits naturally into the growing interest in slow fashion, sustainable crafting and handmade clothing. Instead of treating a damaged garment as disposable, repair gives it another life. This is especially meaningful for hand-knitted sweaters, crocheted blankets, socks and other projects that may have taken hours to create.
The appeal is also emotional. A handmade garment often carries memories, and repairing it allows those memories to continue.
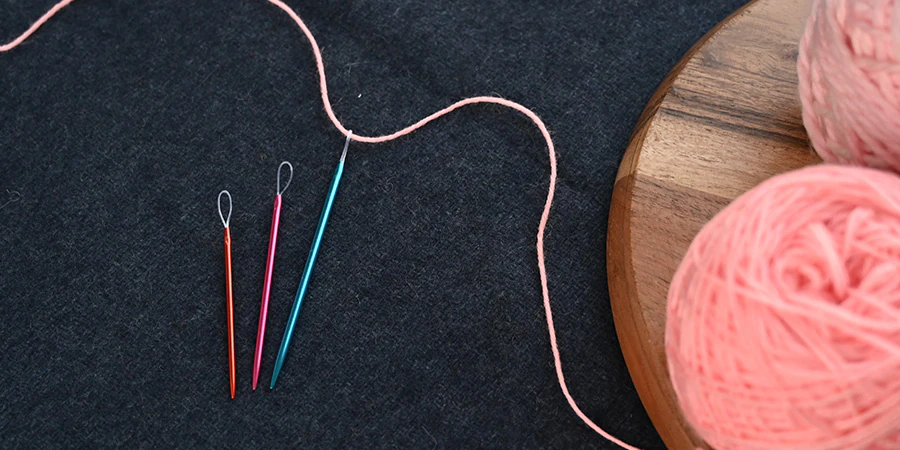
Visible Mending for Knit and Crocheted Projects
Visible mending is easier when you approach the repair step by step. Whether you are fixing a knitted sweater, a crocheted project or a worn sock, start by assessing the damage and then choose the right tool and technique.
Step 1: Examine the Damaged Area
Check whether the fabric is thinning, has a small hole, a broken stitch, or a larger damaged section.
For knitted fabric, identify the direction of the stitches.
For crochet, check the stitch pattern around the damaged area. This helps determine how the repair should be worked.
Step 2: Choose Your Yarn
Select a yarn that is suitable for the weight and fibre of the original project. If you have forgotten the project’s original yarn, stick to a similar weight yarn or simply experiment.
For visible mending, you can choose a contrasting colour to make the repair stand out or a complementary shade for a more subtle effect. Leftover yarn from previous projects can also be useful.
Step 3: Select the Right Tool
You do not need a large collection of crafting tools to begin. Choose the tools according to your project and skill level.
| Tool |
Use |
|
Darning needle |
Repairing holes and reinforcing fabric |
|
Knitting needles |
Reworking or replacing knitted sections |
|
Crochet hook |
Creating crochet patches and motifs |
|
Repair hook |
Keep stitches intact while you show off repairs |
|
Yarn |
Repairing, reinforcing and decorating |
|
Embroidery thread |
Decorative visible stitching |
|
Darning mushroom or egg |
Holding fabric in position during repairs |
Step 4: Secure the Damaged Area
Use stitch markers to keep the stitches from being ripped further. Place the damaged section over a firm, rounded surface such as a darning mushroom or egg. This keeps the fabric supported while you work. Avoid stretching the fabric too tightly. The aim is to maintain its original shape while repairing it.
Step 5: Repair the Fabric
For knitted projects, use Swiss darning or duplicate stitch to recreate missing or worn stitches. Follow the existing stitch structure with a darning needle and yarn.
For crochet projects, recreate the missing stitches with a crochet hook (go for a similar hook size or use a size that feels close to the original stitches) where possible. If the damage is too large, reinforce the area before adding a suitable patch of granny square or other motif.
Step 6: Add Visible Stitches
Once the damaged section is secure, add contrasting stitches if you want the repair to become a design feature.
Keep your stitch size and tension consistent. You can use simple lines, repeated stitches or geometric patterns without changing the structure of the original garment.
Step 7: Secure and Finish
When the repair is complete, weave the yarn ends securely into the wrong side of the fabric using a darning or finishing needle.
Check the repaired area for loose ends, uneven tension or puckering. Make any adjustments before wearing or washing the garment. Sashiko, a 400-year old embroidery technique, is making its name in visible mending.
Visible mending is not about making a garment look untouched. It is about extending its life while allowing the repair to become part of its character.
With a few basic knitting and crochet tools, you can repair worn handmade projects instead of putting them aside or replacing them.
Ready to Try Visible Mending?
The next time you find a hole in your favourite knitted sweater or crocheted project, resist the urge to put it aside. Reach for your KnitPro knitting needles, crochet hooks or darning needle, choose a yarn that makes you smile, and make the repair visible. Because handmade does not have to mean flawless. Sometimes, the most beautiful stitch is the one that says, "I fixed it, and I made it even better".


