

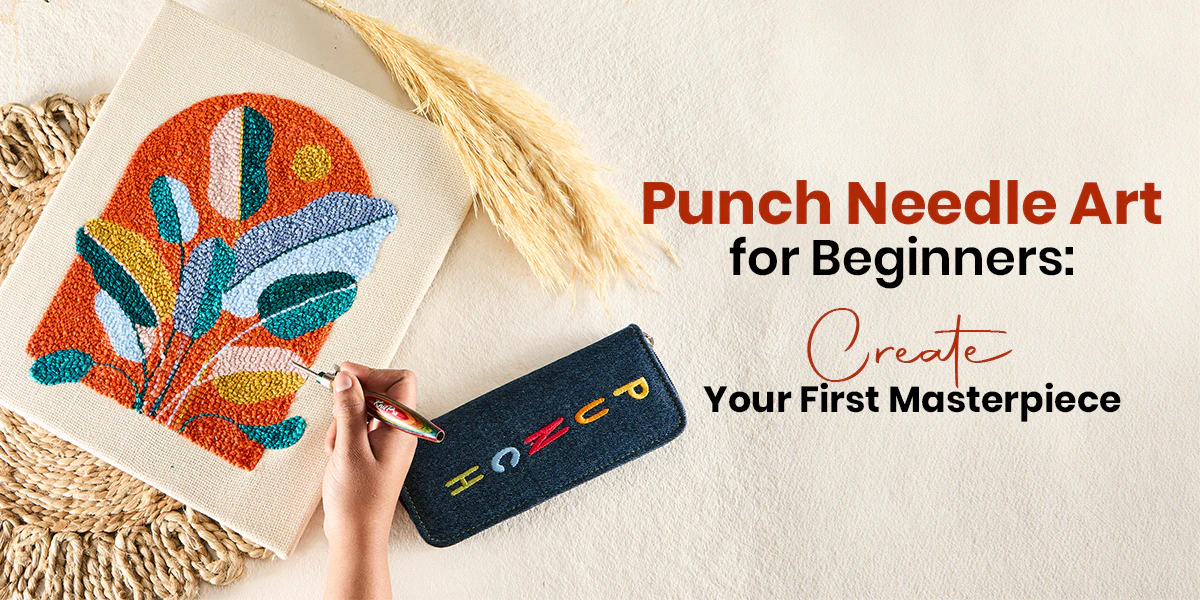
Looking for a craft that is creative, relaxing and surprisingly quick to learn? Say hello to punch needle art! This fun textile craft transforms simple fabric and colourful yarn into beautiful textured designs, often in just a few hours. From decorative wall hangings and cushion covers to rugs, coasters and personalised gifts, punch needle projects offer plenty of room for creativity.
Unlike knitting or crochet, punch needle art does not require you to master complicated stitches. You simply use a special hollow needle to push yarn through a suitable fabric, creating loops that build up into a design. If you are wondering how to punch needle as a beginner, here is a simple step-by-step guide to help you get started.
What Is Punch Needle Art?
Punch needle is a form of embroidery in which a hollow needle pushes yarn through a foundation fabric to create a series of loops. These loops form a textured surface that can be left as they are or turned over to create a different finish.
One of the biggest attractions of punch needle art is how quickly a design takes shape. Once you understand the basic punching motion, filling larger areas can feel wonderfully satisfying. It is also a forgiving craft. You can experiment with colours, shapes, loop heights and textures without needing advanced stitching skills.
Explore the KnitPro Punch Needle Art collection for tools and accessories designed to make your creative projects enjoyable.
What Do You Need to Start Punch Needle?
Before beginning your first project, gather a few essentials:
- Punch needle: Choose a punch needle size suitable for your yarn thickness and project. KnitPro punch needles have an ergonomic handle in colorful wood or warm wood in sizes of 2, 3, 4, 5mm.
- Foundation fabric: Monk's cloth is a popular beginner-friendly option because its open weave holds the loops securely.
- Yarn: Select yarn compatible with your punch needle. Medium or bulky yarn is commonly used with larger needles.
- Embroidery hoop or frame: This keeps the fabric taut while you work.
- Needle threader: A useful tool for guiding yarn through the needle.
- Scissors and a pattern: Keep scissors handy for trimming yarn ends, and choose a simple design to begin with.
Punch Needle Sets can make getting started easier by bringing together several useful tools and accessories.

How to Punch Needle: A Step-by-Step Guide
Step 1: Choose Your Design and Prepare the Fabric
Start with a simple pattern featuring basic shapes, flowers, geometric designs or lettering. Trace the design onto your foundation fabric using a suitable fabric marker.
Next, secure the fabric in an embroidery hoop or punch needle frame. Pull it evenly until it is taut, but avoid overstretching it. The fabric should remain firm while allowing the needle to pass through easily.
Step 2: Select the Right Fabric and Yarn
Your choice of fabric can make a big difference to your first punch needle experience. Monk's cloth is widely recommended because its woven structure allows the needle to pass through while gripping the yarn loops.
Duck fabric and weaver's cloth are other options, depending on the needle, yarn and project. Always check that the fabric weave is compatible with your tool.
Also Read: Which Fabric Is the Best for Your Punch Needle?
Choose yarn that feeds smoothly through the needle without getting stuck. Matching the yarn thickness to the needle opening helps create consistent loops.
Step 3: Thread Your Punch Needle
Threading may look tricky at first, but it becomes much easier with a little practice. Most punch needle tools come with a threader to help guide the yarn.
Insert the threader's wire loop through the needle eye, pass the yarn through the loop and gently pull it back through. Then guide the yarn through the hollow shaft and out through the needle tip, following your tool's instructions. Leave a short yarn tail at the back.
Also Read: How to Thread the Punch Needle
Step 4: Start Punching
Hold the punch needle comfortably, with its tip angled towards the fabric. Push the needle through until the depth guide or handle reaches the fabric surface, depending on your tool's design. Pull the needle back gently without lifting its tip too far away from the fabric. Move a short distance forward and punch again. Keep the yarn feeding freely from the ball or skein.
Repeat this motion, placing each punch close to the previous one. Gradually, the loops will form a continuous textured design.
Step 5: Fill the Design and Experiment
Work around the outlines of your pattern first, then fill the larger sections. Try different colours to create contrast, or experiment with loop heights for a dimensional finish.
You can use shorter loops for a compact texture and longer loops for a softer, raised appearance. Keep your punching direction and spacing consistent when you want an even finish.
Step 6: Finish Your Punch Needle Project
Once the design is complete, carefully remove the fabric from the frame. Check the back for loose yarn ends and trim them neatly. Depending on the project and how it will be used, apply a suitable fabric adhesive or backing to help secure the loops.
Your first punch needle creation is ready to display or turn into something useful!
Common Punch Needle Mistakes Beginners Should Avoid
If your loops keep falling out, check whether your fabric is suitable and stretched tightly enough. Uneven loops may indicate inconsistent punching depth or spacing. If the yarn keeps getting stuck, check that it is threaded correctly and matches the needle size.
Remember, you do not need perfect stitches on your first attempt. Small adjustments can make a noticeable difference. Also Read: Punch Needle Art Mistakes and How to Fix Them for practical troubleshooting advice.
Ready to Give Punch Needle Art a Try? A punch needle is a wonderful way to turn yarn and fabric into something colourful, tactile and personal. It is quick to pick up, fun to practise and offers endless opportunities to experiment with textures and designs. Start with a small project, choose the right tools and enjoy watching your artwork take shape, one punch at a time.
Also Read: Mastering Punch Needle Techniques: Tips and Tricks
With the right supplies from KnitPro, your first punch needle project could be the beginning of a very enjoyable new creative hobby.


